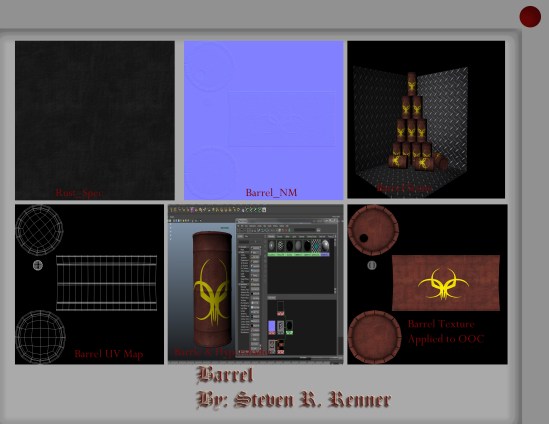
"Barrel" By Steven Renner, this game prop was modeled, textured and lit in Maya 2011 and rendered also in Maya 2011 using Mental Ray. The reference sheet shows all maps that I made and used to give this barrel a unique and realistic appearance, the maps were created in Photo Shop CS4 and are all 2048 x 2048 HD maps, there is also a Specular map to moderate the amount of reflection on the barrel, as well as a low fidelity Normal map to add realism to the rusty texture of the barrel. I hope you enjoy this barrel as much as I enjoyed creating it.

"Crate" By Steven Renner, this game prop was modeled, textured and lit in Maya 2011 and rendered also in Maya 2011 using Mental Ray. Ambient Occlusion was added to the corrected UV maps to add to the realistic appearance of the crate. Also High Definition Color Maps were created in Photo Shop CS4 and painted directly on to the UV's in order to further the illusion that this is a real crate. I added high fidelity normal maps to give substance and depth to the grain of the wood, overall creating a very believable and functional game prop.

"An Experiment in Light" By Steven Renner, I did this project for my Texture and Lighting class, it is an experiment in Lighting and Shadow with in Maya 2011, this experiment demonstrates the various lights with in Maya and some of the effects that can be achieved by combing the lights as well as using light linking.

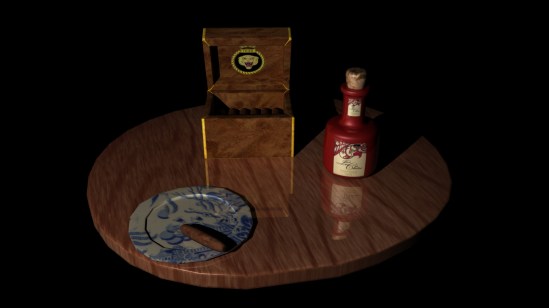
"Wine and Cigars" By Steven Renner, in this project that I did for my Texture and Lighting class we had to properly layout the UV's of the entire scene as well as create seamless textures for all the assets in the scene than render as a HD render in Maya. I first opened each individual asset with in the UV editor in Maya and properly laid out and scaled the UV's for the best effect, Utilizing the entire 0 to 1 UV grid to get the most out of my color and texture maps. Next I created my various maps with in Photo Shop CS4 and placed the maps onto the prepared UV maps. Last I imported my new color maps back into Maya 2011 and wrapped them around the various objects. I went one step further in adding directional lighting to this scene and threw light linking I adjusted what the lights would interact with. This scene was the end result not bad for my very first attempt in texture and lighting.
"Temple Ruins" By Steven Renner, this project was a ongoing project over the course of 4 weeks for my Texture and Lighting class. For this project I had to properly adjust and layout the UV's of all assets in the scene as well as bake in ambient occlusion to all the various elements of the scene. After this was completed I had to create my textures for the scene, all the textures are 2048 x 2048 HD textures that I created in Photo Shop CS4. After creating and saving out my textures I than created high fidelity and normal fidelity normal maps for the scene as well as a image based panorama sky doom, i inserted directional lighting to cast the long shadows you see in the final render. After all the work was complete I set up for rendering with Mental Ray as a 3000 pixel per square inch production quality render with final gathering, what you are looking at is the end result. I do believe that this is probably my best work to date as far as texture and lighting goes.

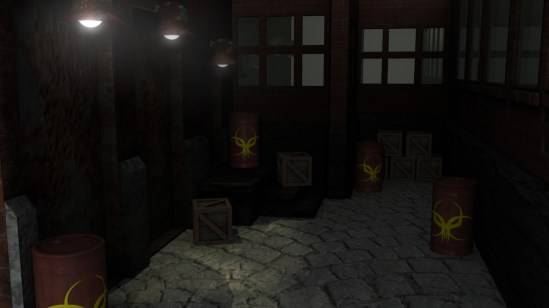
"Alleyway" By Steven Renner, this was my final project for my Texture and Lighting class, the model all the assets, the texture and lighting were all done by me. This scene was done with in Maya 2011 and rendered as a HD production Quality render with final gathering All the texture used in this scene were crated by me in Photo Shop CS4 and are 2048 x 2048 .Tiff files, this scene also has high and low Fidelity Normal maps, Specular Maps, Ambient Occlusion, and a image based sky doom.

Nice 3D work! really nice lighting.